Blog Background

Monday, February 25, 2013

8 Tips to a Better Family Photo

We had family photos taken this weekend, yay!  I love actually being in some of our family pictures.  Since I take most of them, I'm rarely in them.  Handing my husband my DSLR is like handing my 7-month old a cell phone.  He'll take it, look at it curiously, and most likely smash it.  Ha, ha.  You only think I'm kidding...

So the perfect photo is hard to get.  You've likely sorted through hundreds of Pinterest boards trying to find that magazine shot, the one where everybody is smiling and beautiful and natural, like Gap models with coordinating outfits.  And the reality is a husband who is bored, a baby who is tired, and 80% humidity that destroys the hair you worked on for an hour in about 5 minutes.  Frustrating, isn't it?  Well, there are a few things you can do to help you get a great shot, although you most likely will not be on the cover of Family magazine any time soon.

1.  The Photographer.  Ladies, I like to save money just like the next couponer, but here's one of my exceptions.  You get what you pay for when it comes to a photographer.  If you think it's just a photoshop savvy person holding an expensive camera, you are not just wrong but WRONG in capital letters.  I learned this the hard way by hiring a discount photographer for my wedding.  Don't make my mistake.  Ask around, find a professional.  Usually that means they have a studio.  Not a drop cloth in their garage.  And if you like what they do, continue to develop that relationship.  And spread the wealth, recommend them to your friends!  (I use Gretchen B in Helena, Alabama.  She's wonderful, and the baby loves her!  She also helps me with great tips for getting better pictures at home.)   Since we've established that you must spend some money to get quality photos, how do the budgeters deal?  Choose one or two special occasions a year, and make them count.  How to make them count?  Keep reading.

2. Plan ahead.  If you want outdoor photos, make sure it's not going to rain.  Ask your photographer if there are any great parks around.  Odds are they will know some great spots.

3. New clothes.  If you're already spending the money to get some great shots, make sure everyone looks their best.  This doesn't have to mean getting entirely new outfits, but plan each member of the family's outfit and fill in the blanks with new pieces.  I pick 3 colors, two neutrals and a color pop, and make sure everyone is coordinated but NOT matching.  Everyone in a white or black collared shirt is a very outdated look.  For women and girls, don't wear a ton of jewelery, moderation!!!  You want to see you, not the bling.  Jackets, belts, and a cute necklace can make you look put together.  For men and boys, don't go to fancy (ties/bowties) or they will be uncomfortable.  I did blue, white, and jeans.  Other great combinations are yellow, gray and khaki, or blue, coral, and jeans, or mint, khaki and white.

4. Makeup.  Stick with matte.  Sparkly makeup does strange things with the flash.  Go for a natural look.  Again, you want to look like you, only better!  Apply it in natural light instead of the bathroom incandescent light.  Put on a little more in the eye area than you normally do so you don't look washed out, and make sure you do your brows.  It makes a big difference.

5. Props.  If you found a picture you like of a family on a quilt, bring a quilt!  Don't expect your photographer to read your mind. 

6. Be prepared for meltdowns.  Bring everything you can to fend them off.  Snacks, a baby bottle, jackets for everyone in case the weather doesn't cooperate, toys, etc.  Make sure you include that favorite toy that always brings a smile.  You'll need it!

7. List of photos you want.  Again, your photographer is not a mind reader.  She does the best with what she's got.  So if you have specific shots you want, make a list and give it to her in advance.  Keep in mind that photography is an art form, and her point of view might be different from yours.  Some photographers are really in to props and some are not.  If your point of view is very different from your photographer's, find a new one.  To avoid finding this out the hard way, a smart idea is to create a Pinterest board or a file of photos you like and compare them to her website, or even send her an email to see what she thinks.

8. Know when you're done.  Most likely, your kids will dictate this.  When they're done, you're probably not going to get any more good shots.  You may get one or two cute ones of grouchy faces, but that's it.  When nobody's smile looks real anymore, call it!  You know your family well, and you'll know, when they're done, they're done!

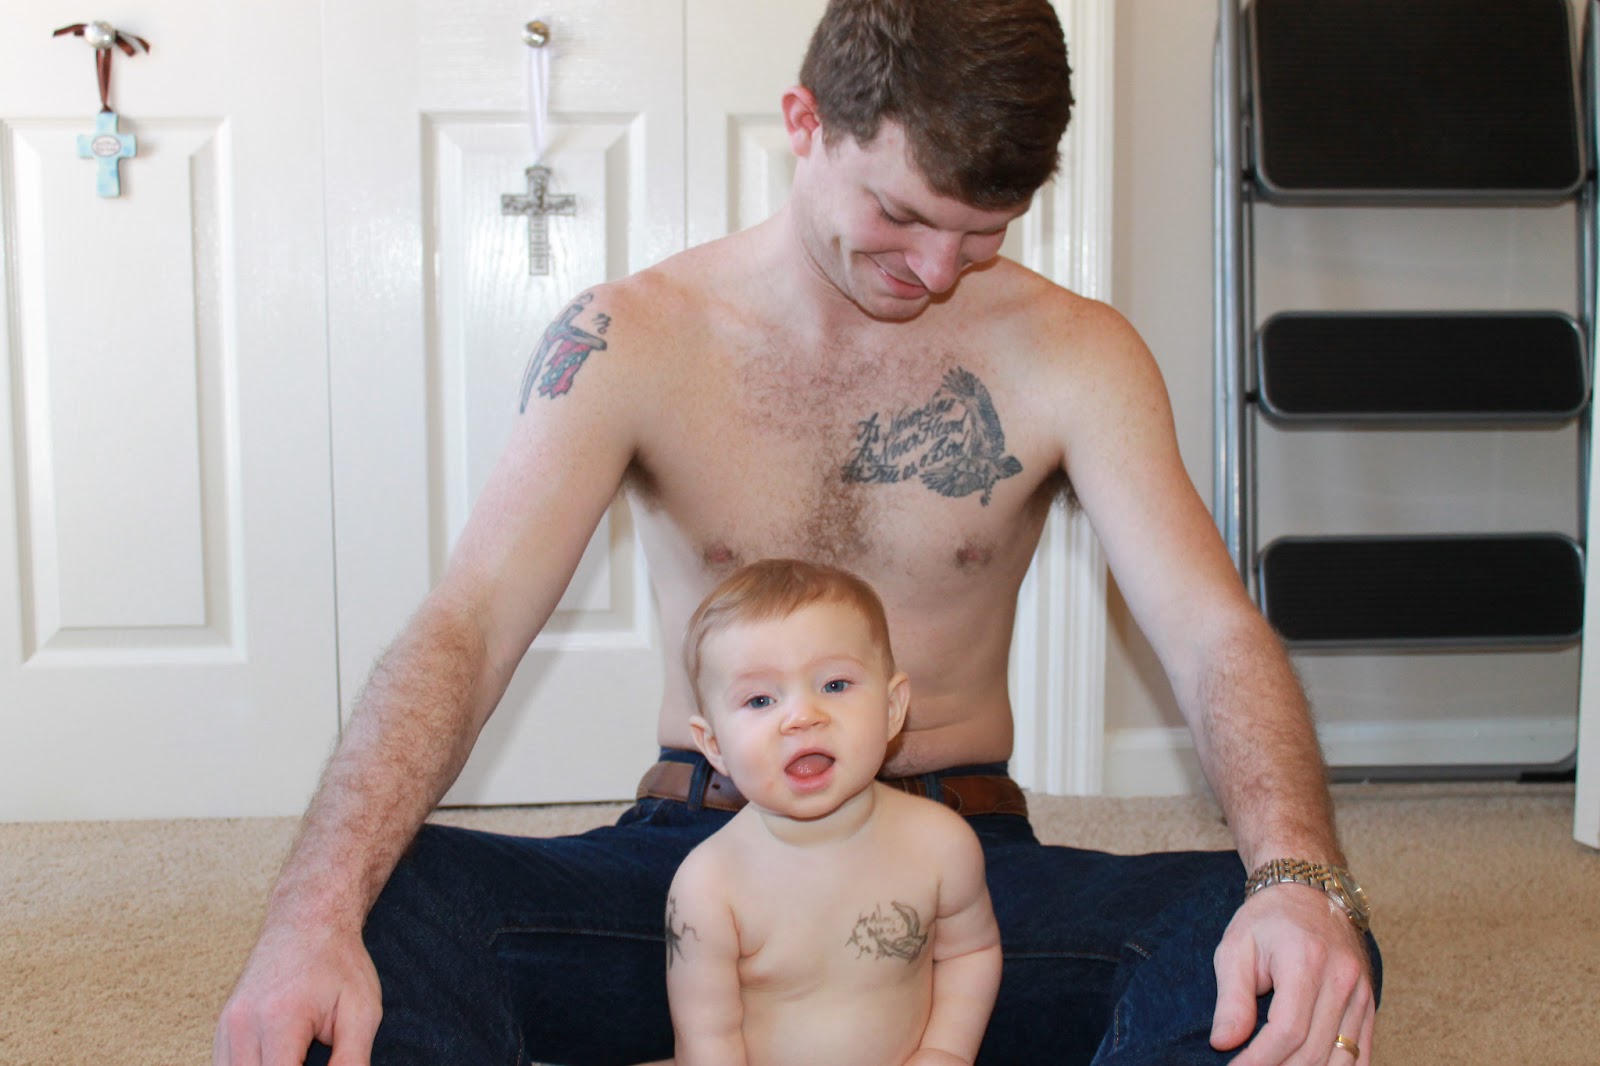
Above all, have fun.  The really great shots are usually candids taken when everyone is relaxed and isn't  really focused on the camera, but on each other.  What do you think of ours?


Again, props to my favorite photographer, Gretchen Birdwell!  Like her on Facebook at http://www.facebook.com/birmingham.photography.


Monday, February 18, 2013

Baby Photography: Daddy's Tattoos

My latest idea for baby photography came to me while admiring my shirtless husband loading the washing machine...swoon.  He has some tattoos, and I thought how cute a just-like-daddy tattoo picture would be so cute.  Don't worry!  I drew them on with a Mary Kay eyeliner in Sage.  Hypoallergenic, and easy to remove with baby wipes.  The hard part was drawing them on a wiggling baby.  Scaling them down was difficult too.  If I had to do it again I would try carbon paper and make my own temporary tattoos, but this was spur-of-the-moment, so I made do.  Here's what I came up with.  What do you think?


Sunday, February 10, 2013

Mommy Tips and Tricks for Storage


If you are a new mom, you may be surprised by the sheer quantity of stuff you now have for your baby.  How can such a small person need so much?!  If you’re a seasoned pro, you’ve probably figured out some nifty tricks to organizing all that stuff and making it more manageable.  I know I have, and every time I find a new trick, it seems so simple, and I think, why has nobody shared this with me before???  For shame my mommy friends!  So here are a few things I’ve learned that I wish somebody had told me sooner.

  • Bottles: Never store baby bottles fully assembled.  I used to store my bottles all neatly assembled.  It was cleaner and easier.  So why would you do it differently?  One word, and an ugly one indeed, MOLD.  If there is even the teeniest bit of moisture on the bottle or the parts, you will seal it in when you assemble the bottle and it will become a petrie dish for mold.  Imagine my horror, opening up a bottle and finding icky green spots.  I went on a bottle disassembly and examination rampage, cleaned them all, and threw out quite a few just in case.  Lesson learned: store them disassembled!
  • Baby cabinet: Store all of your bottles, spoons, cups and containers in one cabinet, designated the “baby cabinet.”  I have a little 2-drawer shelf I bought at Bed Bath & Beyond that I store my bottles and parts in.  I have different sized nipples in labeled Zip-locs.  All my baby spoons are in a plastic cup.

  • Baby shelf in the pantry: I have a shelf (well, half a shelf) dedicated to baby items in my pantry.  All his food items, yogurt, cereal, etc. are on this shelf.  I store my baby cereal in plastic Tupperware instead of the cardboard container it comes in, and I have a tablespoon in the container to portion it out when I need it.
  • Bibs: I found a neat tip on Pinterest, put Command hooks on the back of your high chair and hang your bibs on it, so they’re always there when you need them.
  • Baskets: There are toys EVERYWHERE in my house.  Living room, dining room, bathroom, master bedroom, and of course the nursery.  So I have a pretty basket in each room (they have tons of choices at places like World Market and Old Time Pottery) that I throw the toys in when I clean up.  They sit inconspicuously in each room, adding to the décor, while secretly hiding a quick access toy stash.
  • Frozen milk and baby food: I have a separate freezer shelf dedicated to baby items.  I bought a long skinny plastic refrigerator tray from Bed Bath & Beyond to cycle milk (newest in the back, pushing the oldest ones forward.  Next to that I have Ziploc freezer bags of baby food cubes, labeled with the date and ingredients.  I cycle those the same way.  My milk storage bag and freezer packs go on the same shelf.
  • Diapers: I stockpile diapers.  (I'll dedicate a future post to couponing diapers.)  So at any time I may have 10-15 bags of diapers.  I stack them by size under my changing table.  I also have my stash of wipes and a basket of medicines and other baby products inside.  On top I have a Prince Lionheart changing station, far more convenient than that diaper hanger that probably came with your baby bedding set.

  • Closet: Since we have a small nursery, there’s no room for a dresser.  I use hanging shelves in the closet for clothes, hats, linens, and shoes.  Socks go in a gift basket I got at a shower.  I have two big bins in the bottom of the closet, one for clothes that are too small, and one for clothes that are too big.  So when he grows out of something, I toss it in the too small bin.  When it’s full it gets labeled by size and put in the attic.  Then I cycle in the “too big” items, and so on.  All this takes up half the closet.  The other half has shelves for big toys (walkers, bouncers, etc.) and the top my husband takes for his hunting clothes!

  • Books, stuffed animals, and nick nacks go on one long high shelf my husband put up across one wall of the nursery.  It’s just a few Lowe’s floating shelves mounted side by side, he had to cut the one at the end (and the bracket) to make it fit.  I’m planning to hot glue a rattan ribbon across the front of them to cover the seams, I just haven’t found the ribbon yet (I saw this on HGTV, yet another project I haven’t finished.)

I’m always looking for more ways to organize, so share some of your projects!